Why Paddock Pressure Guesswork Destroys Grip and Tires
Motorsport rewards preparation, and tire pressure is one of the most powerful adjustments available at the track. Yet many track-day drivers still begin with a static paddock number, drive several hard laps, and assume the tires will find their own balance. That approach ignores what happens when the car leaves the garage. Braking energy, cornering load, carcass flex, track temperature, and tire compound all transform a cold pressure into a much higher operating pressure within minutes.
A sensible starting point is always the tire manufacturer”s guidance, vehicle data, and the rules of the event. From there, a structured tire setup process replaces guesswork with evidence. Too much pressure can crown the center of the tread, reduce the effective contact patch, and make the car nervous. Too little pressure allows the sidewall to fold, the tread to smear, and the shoulder to overheat. The consequences include rollover, graining, accelerated wear, and, in severe cases, carcass damage or a sudden loss of control. Speed matters, but safe, repeatable grip comes first.
Thermodynamics on Track and the Cold-to-Hot Delta
When the lights go green, a tire becomes a working heat engine. Air temperature inside the tire rises as the carcass flexes, while friction at the contact patch adds heat from the road surface. Hard braking also contributes indirectly, because radiant heat from the brake rotor, wheel, and hub can raise the temperature of the adjacent tire. Ambient weather, asphalt temperature, sunlight, track layout, and driving style all determine how quickly pressure climbs.
The difference between the pressure measured in the paddock and the pressure measured immediately after a hard session is the cold-to-hot delta. A six to ten psi increase is a useful working range for many performance tires, but it is not a universal rule. Tire volume, construction, moisture content in the compressed air, stint length, and the amount of sliding can shift the result substantially. A low-volume tire may react quickly, while a larger tire can build pressure more gradually over a longer run.
- Cool morning: The same cold setting may produce a lower initial hot pressure because the starting air and pavement are colder.
- Hot afternoon: Higher ambient and track temperatures can make the tire reach its target pressure sooner and push it beyond the desired range.
- Short session: The tire may never stabilize fully, so a cold adjustment based only on a brief run can be misleading.
- Long stint: Sustained cornering and braking reveal the true pressure trend, especially on the most heavily loaded axle.
The objective is not simply to chase a number on the gauge. The objective is to achieve the pressure range that gives the tire the intended contact patch and carcass support at operating temperature. That requires recording cold pressure before the session, hot pressure immediately afterward, and the weather conditions at both points. Morning settings often need a different starting point from afternoon settings because the same cold number can generate a materially different hot result.
Pyrometer Diagnostics Across the Three Tread Zones
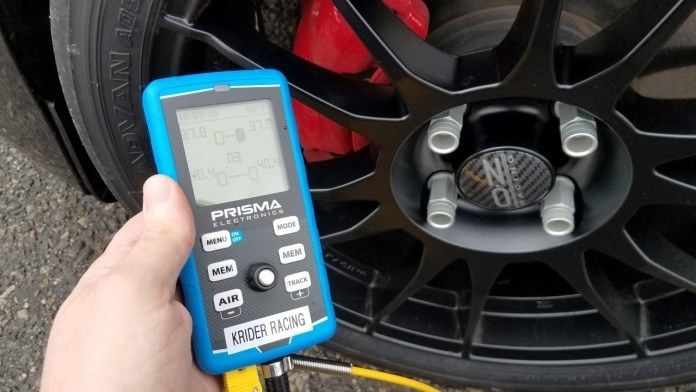
Pressure tells you how much the tire is inflated, but a pyrometer tells you how the tread is working. A probe pyrometer measures temperature at three points across the tread: the inside edge, center, and outside edge. These zones reveal whether the tire is using its available width efficiently, whether camber is appropriate, and whether the carcass is rolling under cornering load.
Take readings as soon as the car returns from the track, ideally within a minute or two. Measure the same tire position every time and record the inside, center, and outside values in the same order. A center ridge that is substantially hotter than both shoulders often indicates excessive pressure, because the middle of the tread is carrying too much load. A very hot outside shoulder can point to insufficient negative camber, excessive body roll, inadequate spring or anti-roll-bar support, or low pressure that permits the sidewall to deform. Tire pressure alone cannot cure a suspension problem.
Temperature patterns must also be read alongside wear. Outer-edge wear on a high-grip tire can result from the tire rolling onto its shoulder even when the gauge shows a plausible hot pressure. As noted in technical discussion of performance-car setups, high-grip slicks can expose excessive body roll in otherwise standard suspension systems. In that situation, stronger springs, anti-roll bars, dampers, or improved geometry may do more than repeated pressure changes. The tire supplier”s pressure recommendation remains essential because construction differs significantly between brands and models.
| Three-zone pattern | Likely indication | Trackside response |
|---|---|---|
| Center much hotter than both edges | Pressure may be too high or the tire may be overinflated for the load | Reduce pressure in small increments, then confirm with another full-temperature run |
| Inside considerably hotter than outside | Negative camber may be excessive, or the tire may not be loaded evenly | Review camber against cornering data and wear rather than changing pressure alone |
| Outside shoulder much hotter than center | Underinflation, insufficient negative camber, or excessive body roll | Check hot pressure, alignment, suspension roll control, and shoulder wear |
| All three zones close together | Generally efficient tread utilization, assuming grip and wear are also consistent | Preserve the setting and validate it across additional laps and temperatures |
There is no magic temperature spread that suits every tire. A few degrees of difference may be acceptable on one tire and significant on another, depending on compound and construction. Treat the table as a diagnostic direction, not a substitute for the manufacturer”s data. The strongest conclusion comes from combining pyrometer readings with steering feel, lap consistency, pressure rise, and photographs of the tread after each session.
The Immediate Hot-Pit Bleed Routine
Peak operating pressure disappears quickly once the car slows and air begins to cool. That makes the pit-lane return a critical data window. Enter the hot pit carefully, obey the venue”s speed limit, and prepare the gauge before the car arrives. The goal is to capture the pressure generated by the full stint, not a softened number measured after several minutes in the paddock.
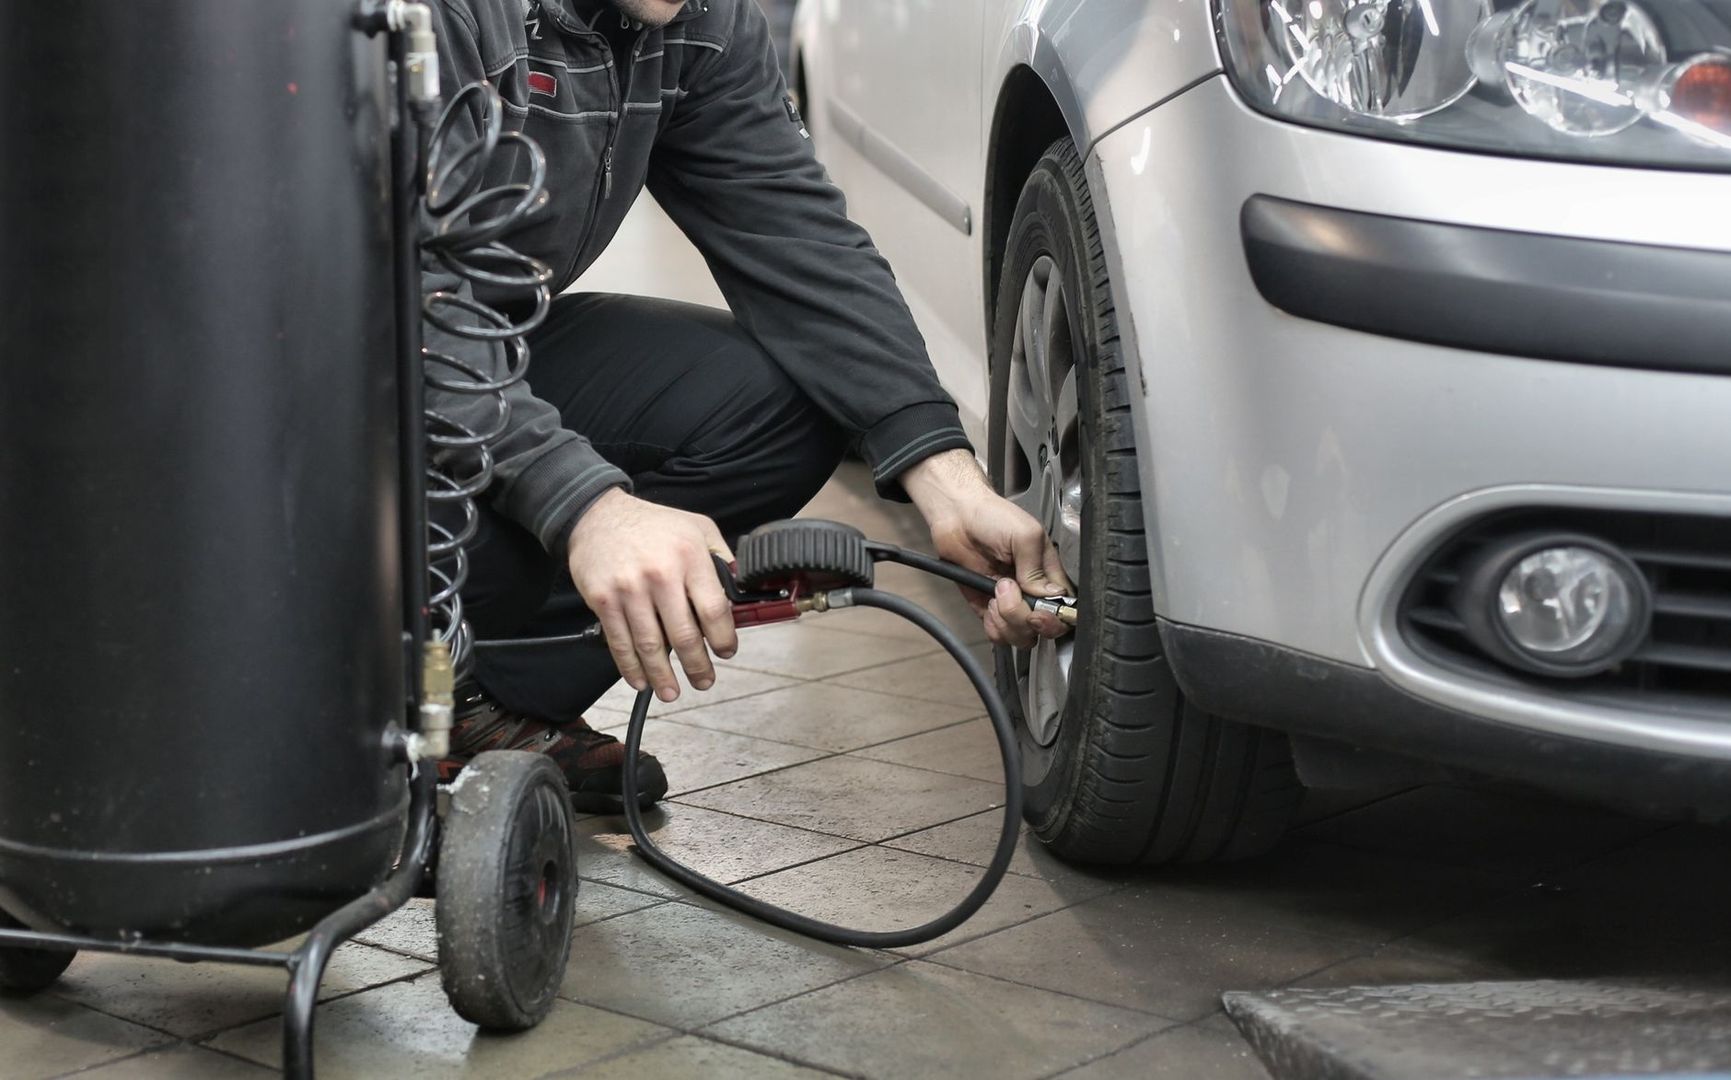
Bleeding means releasing a small amount of air from a hot tire to bring it back to the target operating pressure. It must be done with a calibrated gauge and a valve tool that allows controlled adjustment. Never release air simply because a tire feels hot, and never exceed the tire manufacturer”s pressure limits. On a circuit dominated by long, high-speed corners in one direction, the outside tires may show the largest pressure rise and deserve priority, but every tire must be assessed individually.
- Prepare before the session: Check gauge accuracy, note the cold pressure, inspect valves, and record ambient temperature, track temperature if available, and fuel load.
- Drive a representative stint: Include enough hard laps to bring the tires toward their normal operating window. Avoid making pressure judgments from an out lap or a single cool lap.
- Return through the hot pit: Follow pit-lane rules, stop safely, and measure the most heavily loaded outside tire first if time is limited.
- Log every reading: Write down hot pressure at each corner before bleeding, along with tire position and approximate time since leaving the track.
- Bleed methodically: Remove air in small, measured steps, recheck with the same gauge, and avoid making large corrections that erase the value of the test.
- Record the result: Note the warm bleed number, post-bleed pressure, tire temperature, driver feedback, and any change in lap time or balance.
Pressure changes should be small enough to isolate cause and effect. If the car is pushing on entry, reducing the front pressure may not be the correct answer if the real issue is excessive front shoulder temperature or a geometry limitation. Likewise, adding pressure to mask rear instability can reduce traction later in the corner. Bleed numbers become useful only when they are connected to the exact conditions that produced them.
Tracking Grip and Wear Across Multiple Heat Cycles
A tire does not remain chemically identical throughout a race weekend. Repeated heat cycles can alter the rubber”s elasticity, and some tires experience chemical degassing as volatile compounds leave the material during early running. As the compound hardens, peak grip may decline even if tread depth appears healthy. The driver may notice longer warm-up, reduced compliance over bumps, or a broader slide at the limit.
That change does not automatically call for a dramatic pressure adjustment. Begin by comparing like with like: same tire position, similar fuel load, comparable weather, and the same warm-up procedure. If the tire becomes less compliant, a small baseline change may help it reach its working range, but the correct direction depends on the tire construction and the evidence from pyrometer readings. Manufacturer guidance should remain the foundation, while weekend data determines whether a modest adjustment is justified.
- Photograph each tire after the session, including the inner edge and outer shoulder.
- Mark tire positions and rotate only when the rules, tire design, and wear pattern make it safe and appropriate.
- Inspect for a continuous wear line, torn rubber, graining, blistering, or a polished shoulder.
- Compare tread temperatures with steering feel and lap-time consistency, not in isolation.
- Stop running a tire if wear approaches the carcass, cords become visible, or a bulge, cut, or suspected structural failure appears.
Wear lines are valuable evidence. A clean, consistent scrub line across the working tread suggests the tire is being supported effectively. Heavy shoulder abrasion indicates that the tread is being overloaded at the edge, whether from low pressure, insufficient camber, body roll, or an aggressive driving line. The correct fix may be alignment or suspension control rather than more air. A tire that is already showing dangerous shoulder damage should not be sent back onto the circuit simply to gather one more data point.
Turn Data Into Lap Time and Total Carcass Control
The fastest tire-management program is a closed loop. Start with a safe, manufacturer-informed cold pressure. Drive a representative stint, capture hot pressures immediately, measure the inside, center, and outside tread zones, and compare those findings with balance, grip, and wear. Then make one controlled adjustment and repeat the test. This process turns the gauge, pyrometer, and driver feedback into a single diagnostic system.
Trackside logging creates an advantage that survives changing weather and changing tires. A clear record shows how much pressure each corner gains, which tire overheats first, how the car responds across heat cycles, and when a setup problem is actually a suspension or alignment problem. With that discipline, every session becomes more than a lap-time attempt. It becomes a measured step toward consistent pace, longer tire life, and the confidence to push when the checkered flag is on the line.